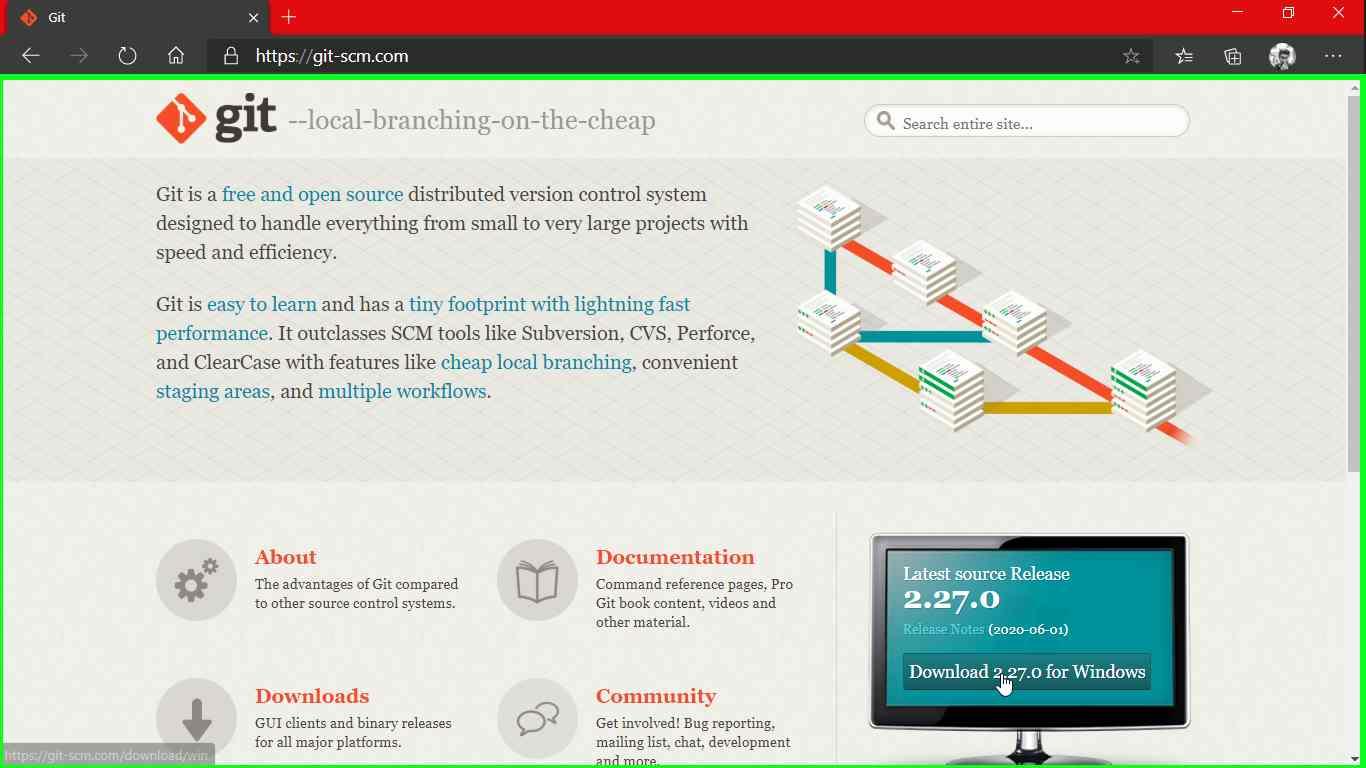
STEP 2:
Go to downloads and select as windows you will land with this page
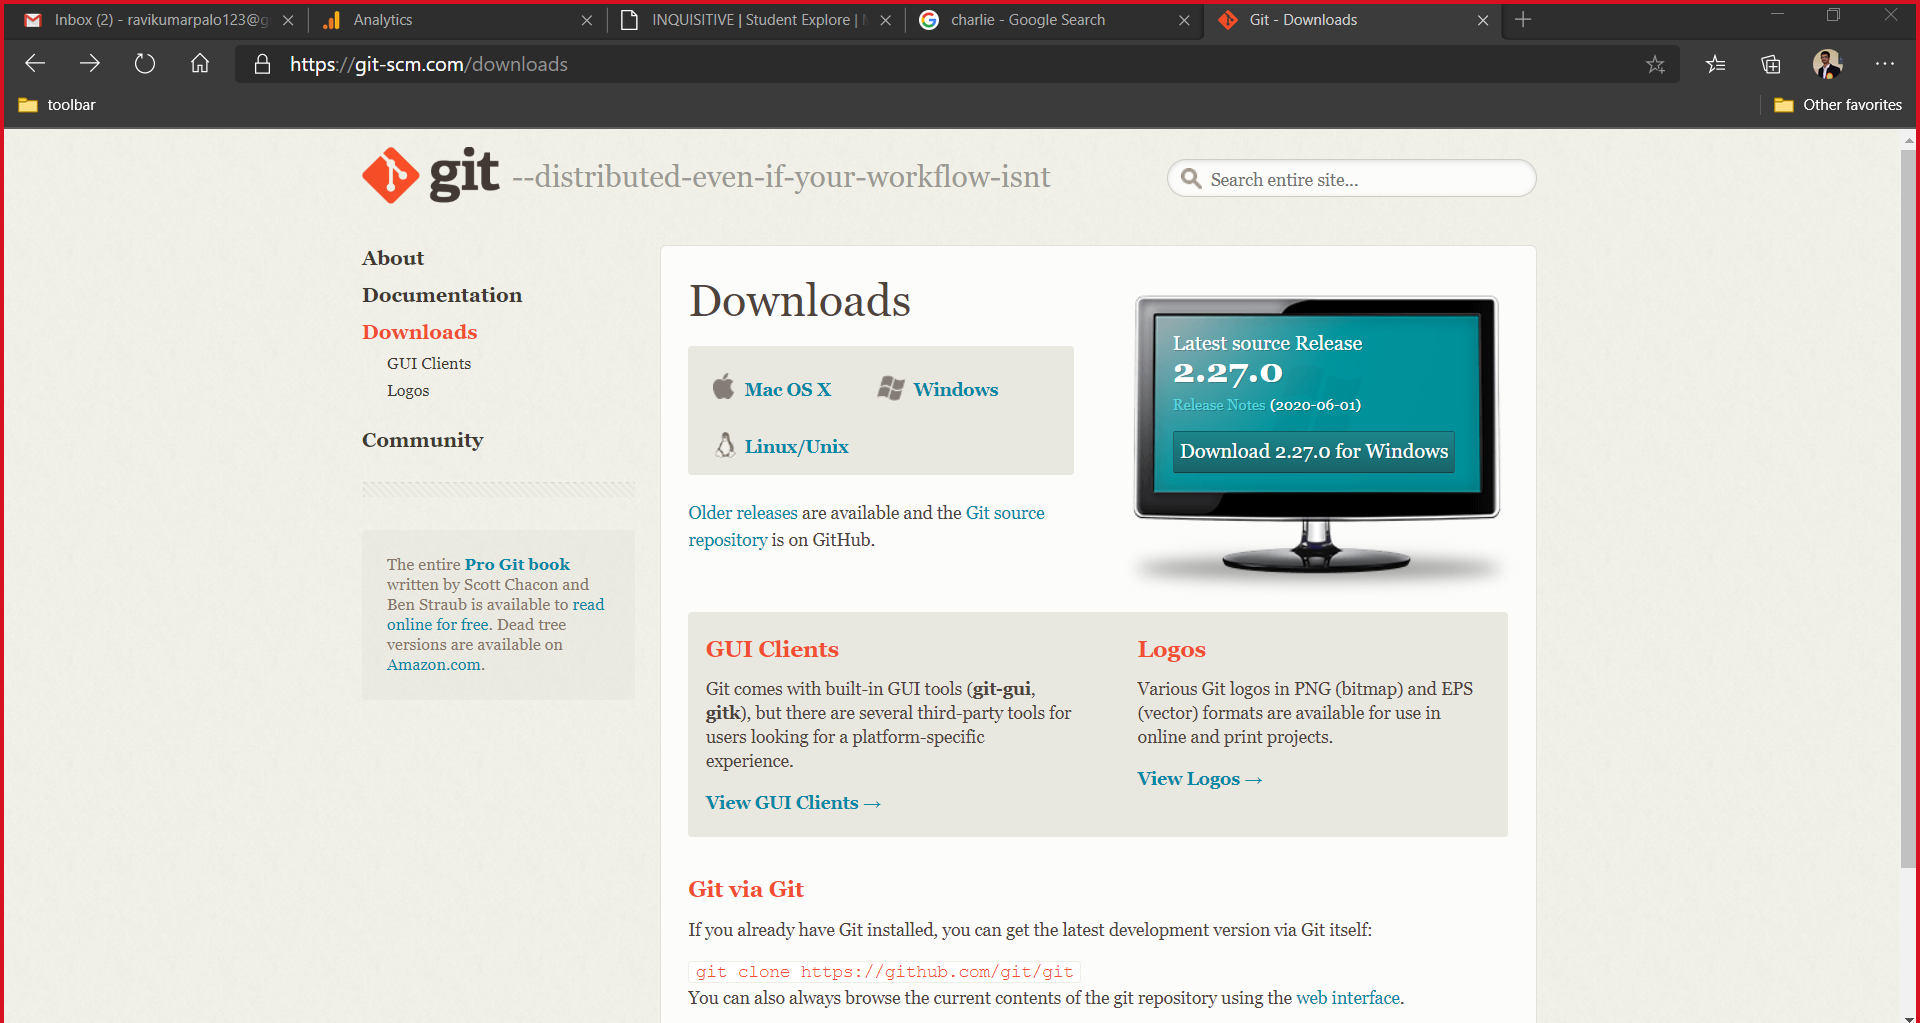
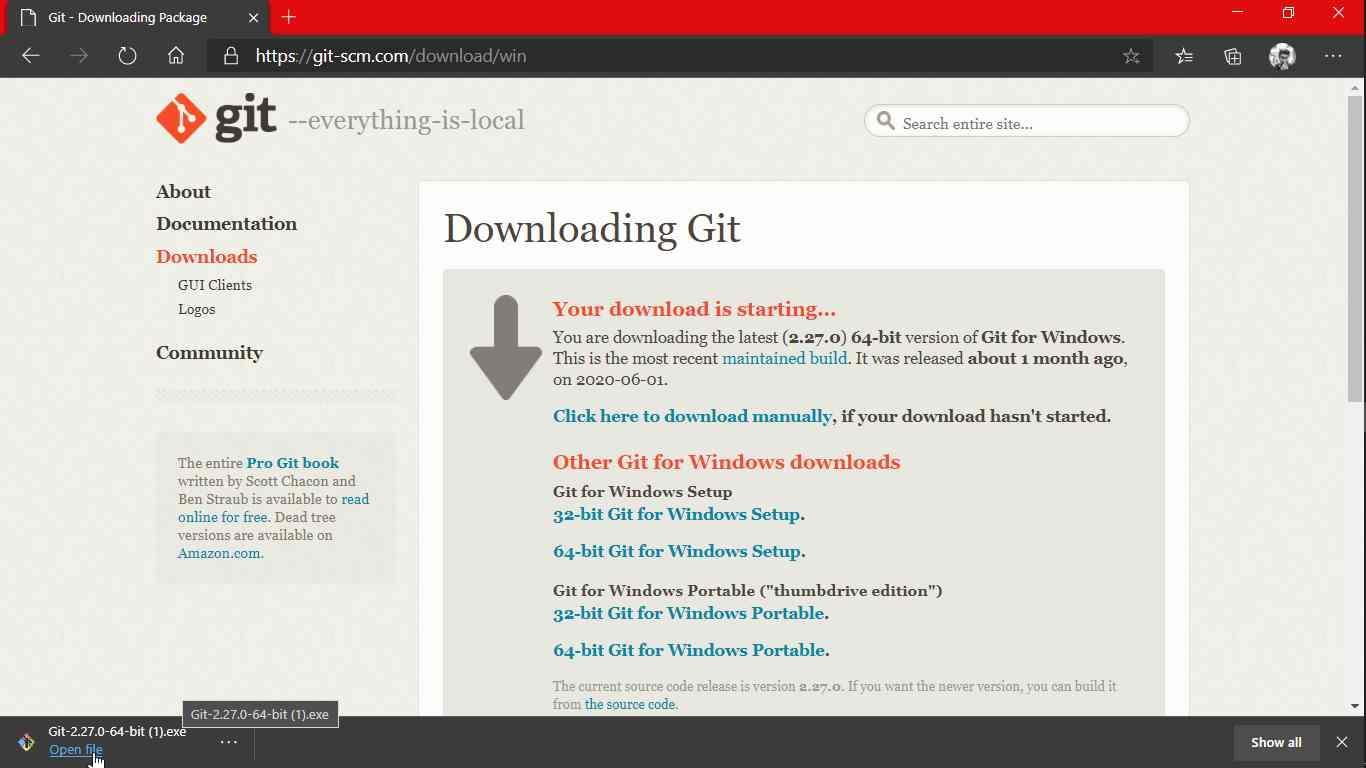
STEP 3:
Select 32 bit / 64 bit based on your system configuration. After downloading execute .exe file
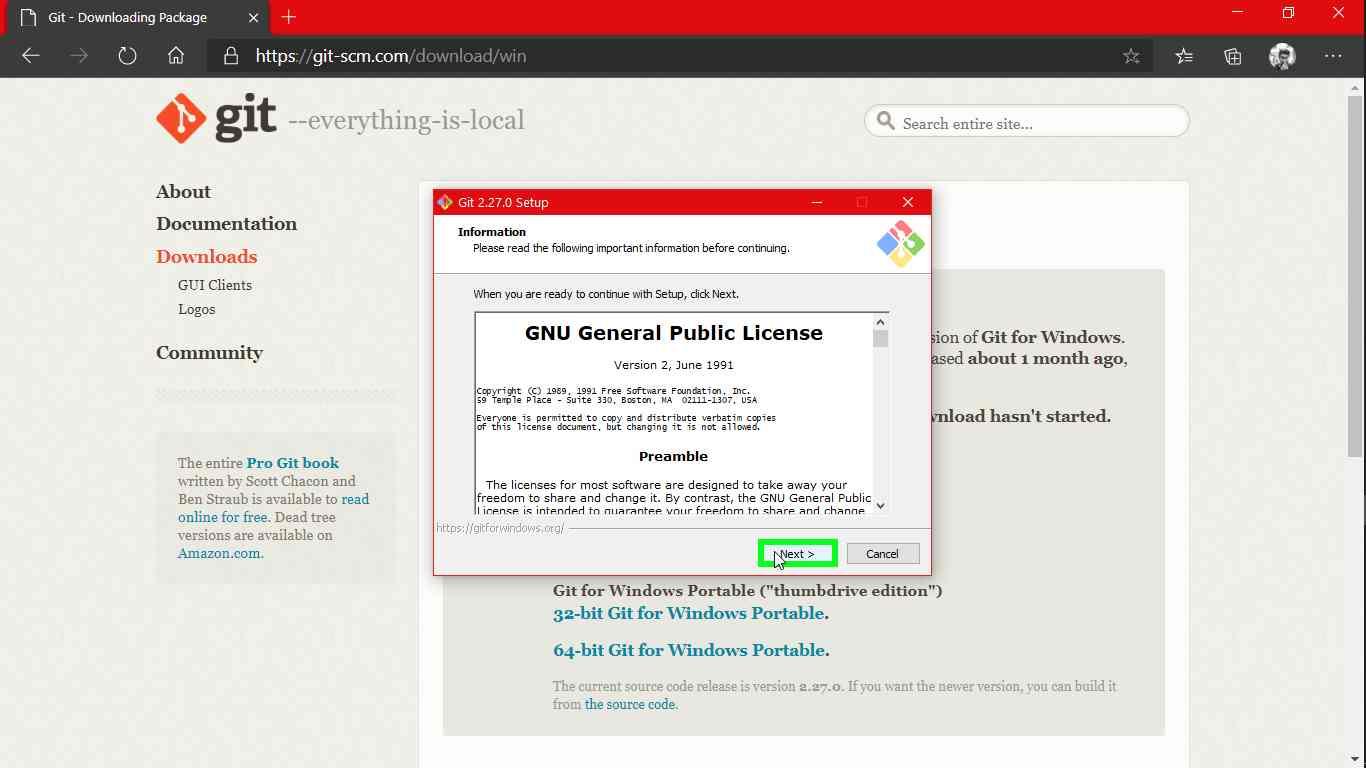
STEP 4:
Click on next
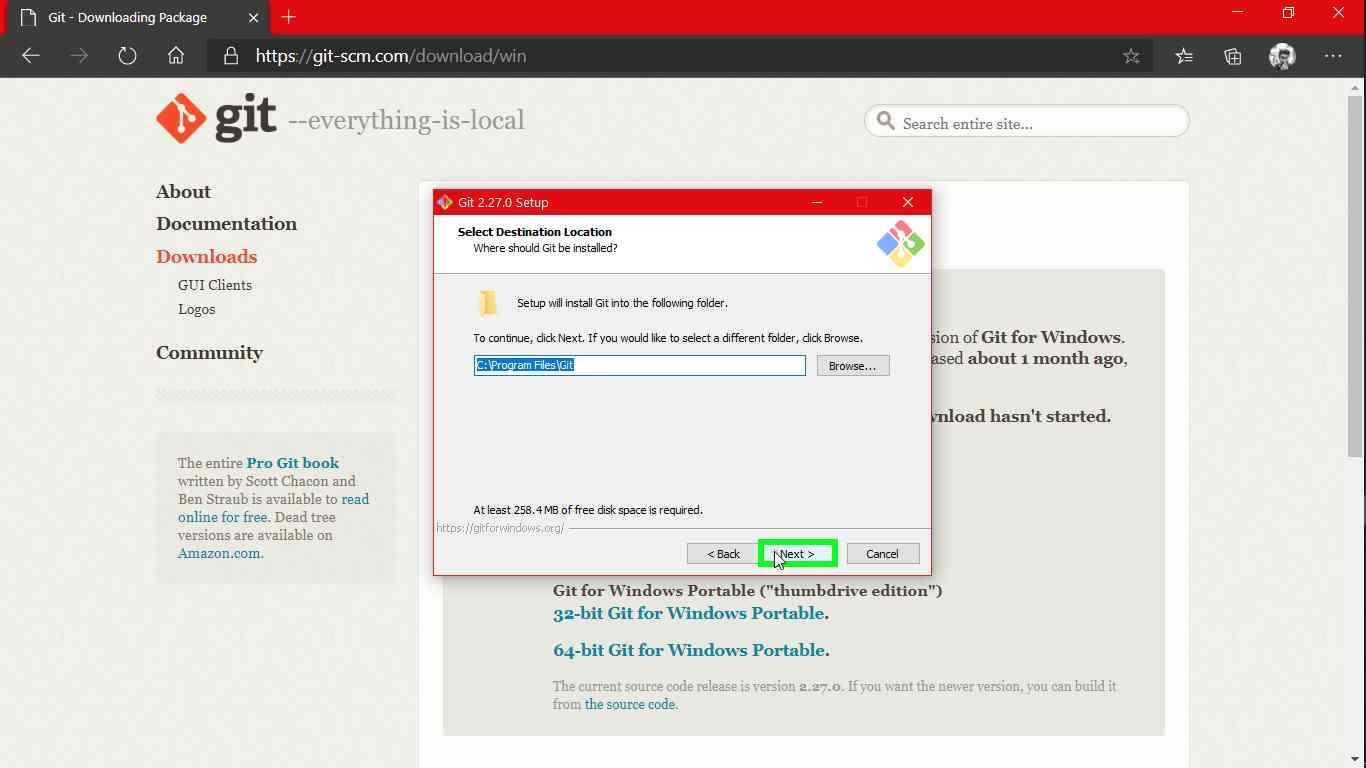
STEP 5:
Choose the location where you need to install (Preferably Program files)
STEP 6:
Select the additional icons and next
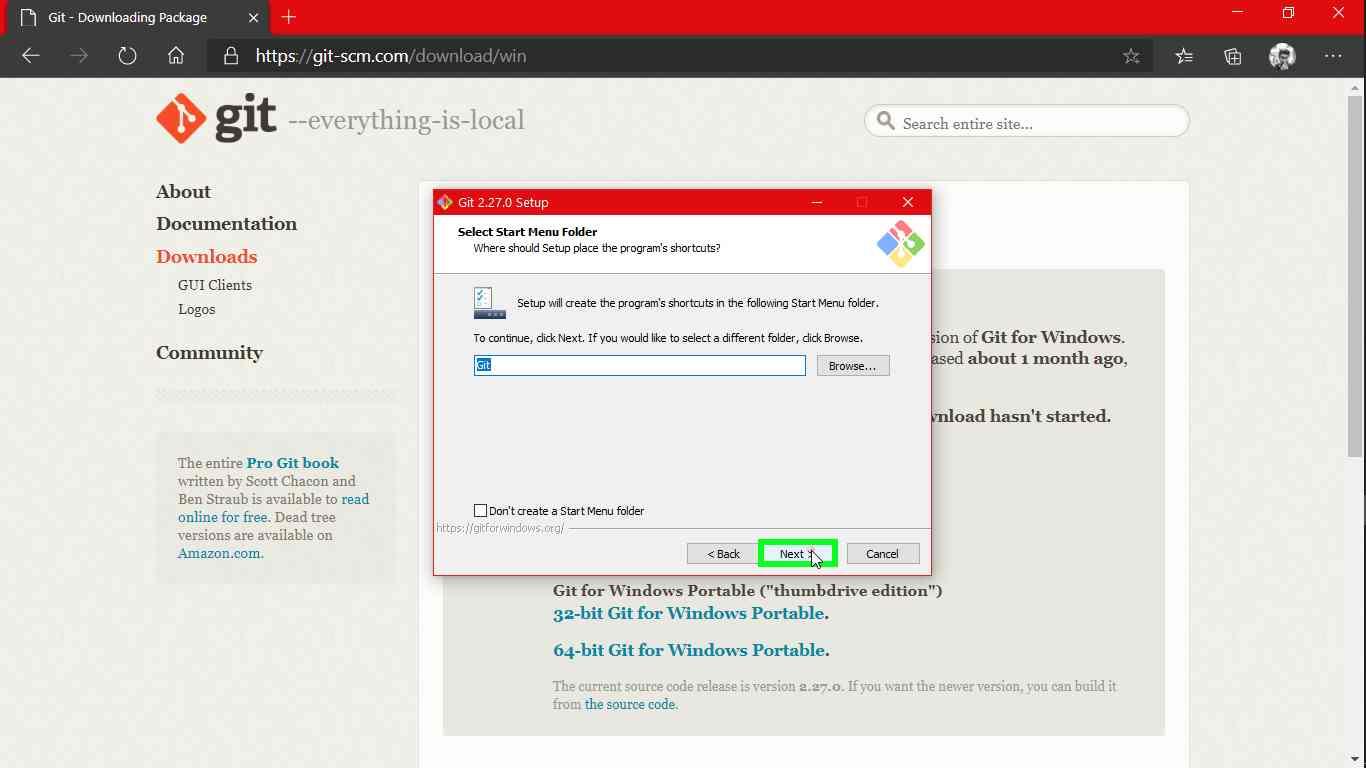
STEP 7:
Click on next
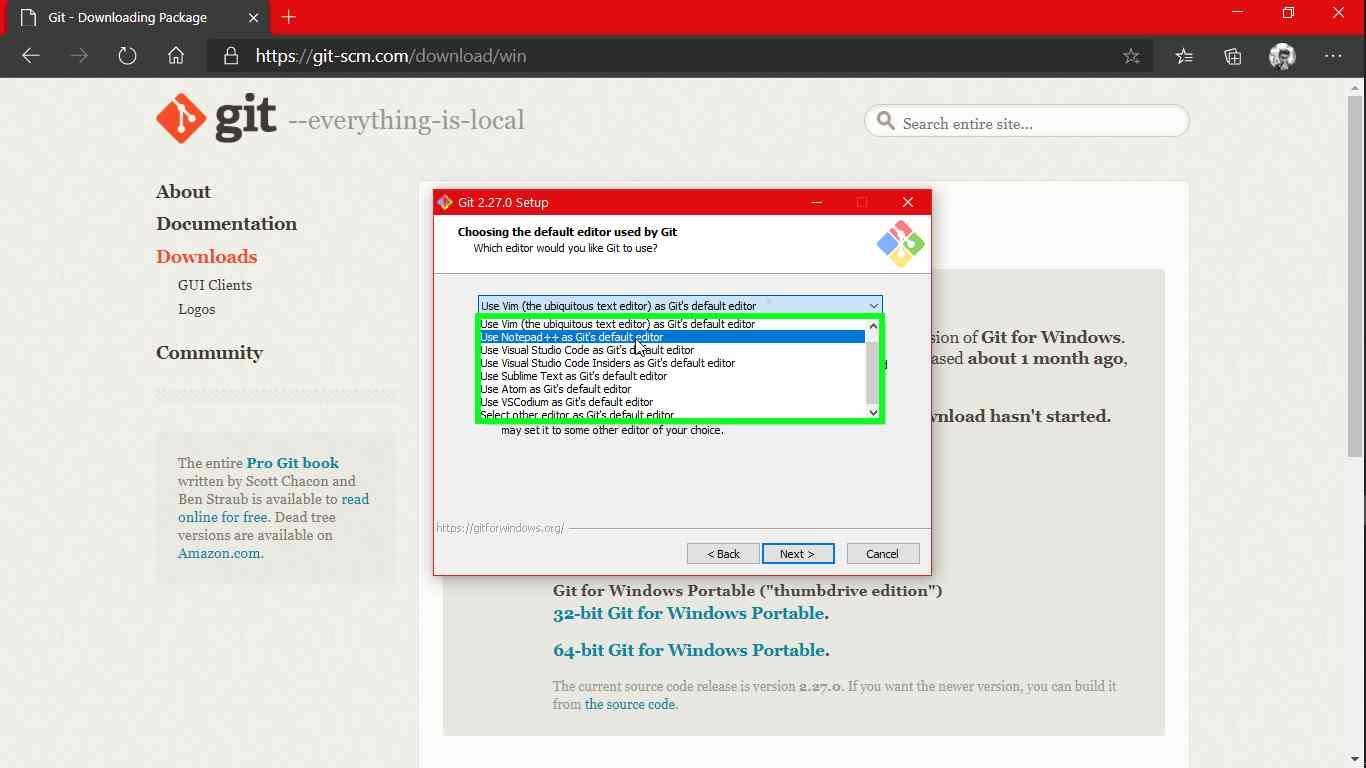
STEP 8:
Choose your own text editor as default one for editing I’ve choosen "Notepad++ as Git's default editor (list item)"
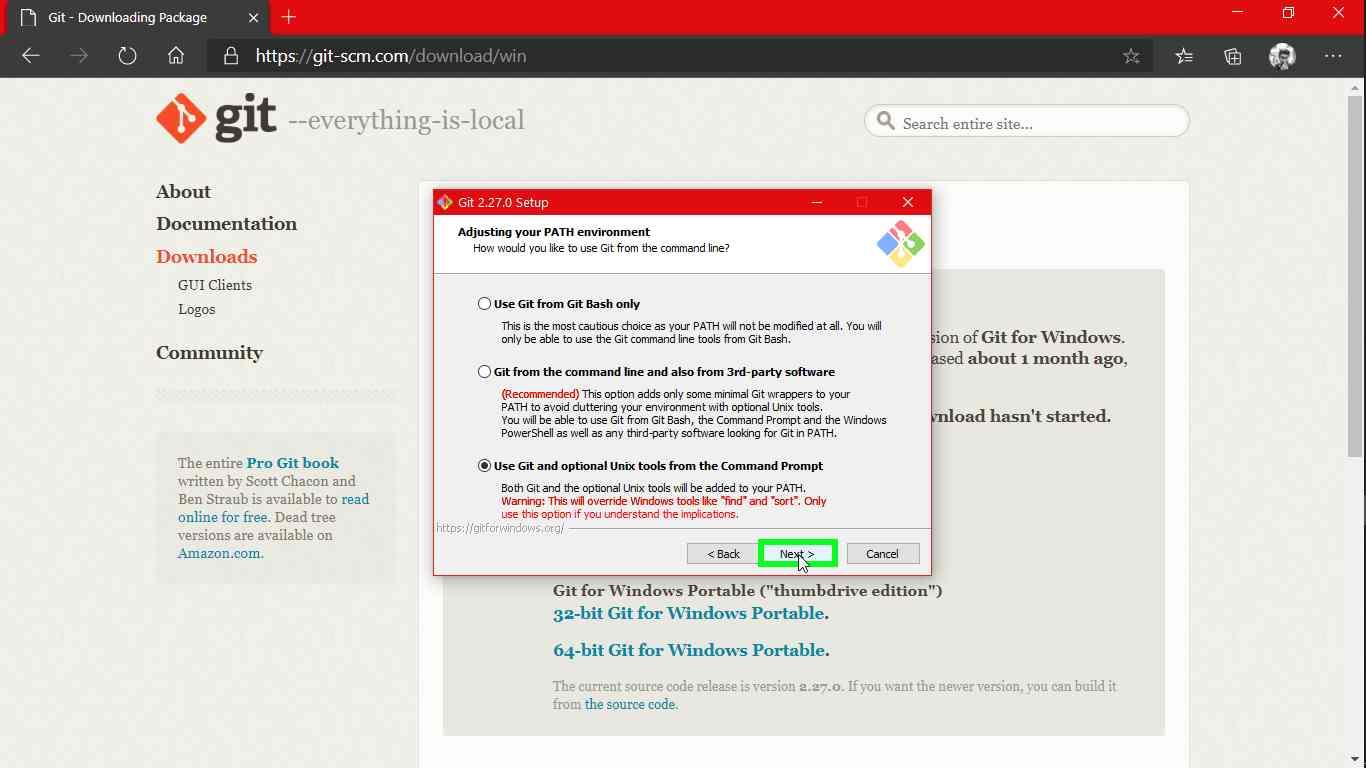
STEP 9:
Choose the 3rd option and next
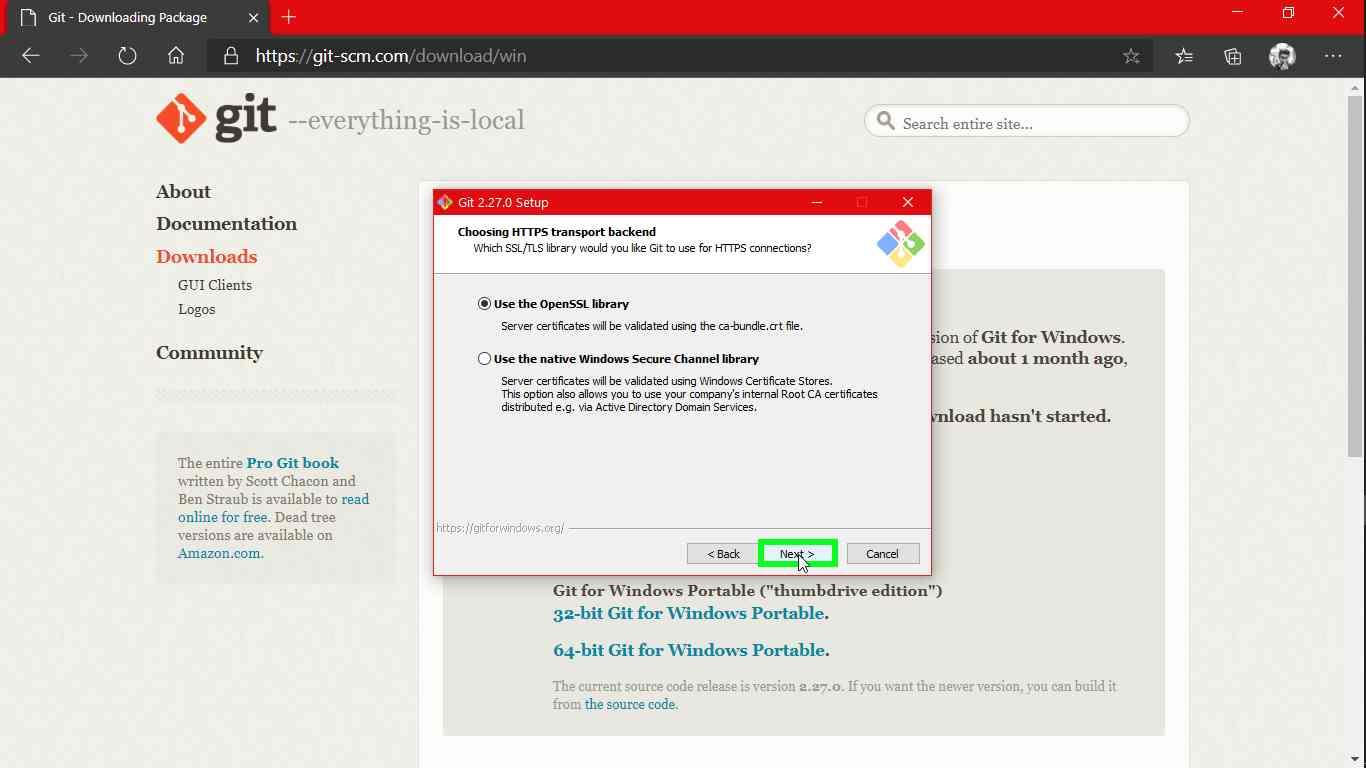
STEP 10:
Use OpenSSL Library and next
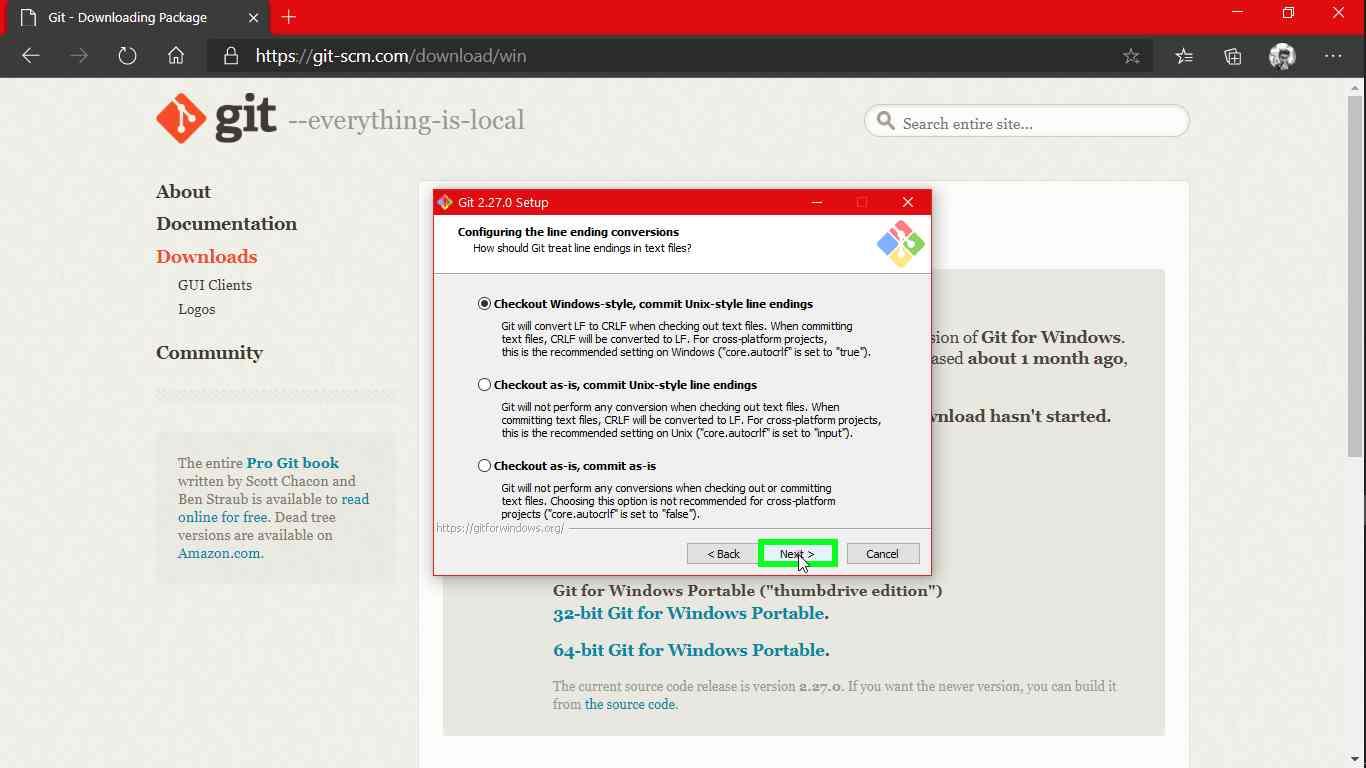
STEP 11:
Select the first option and next
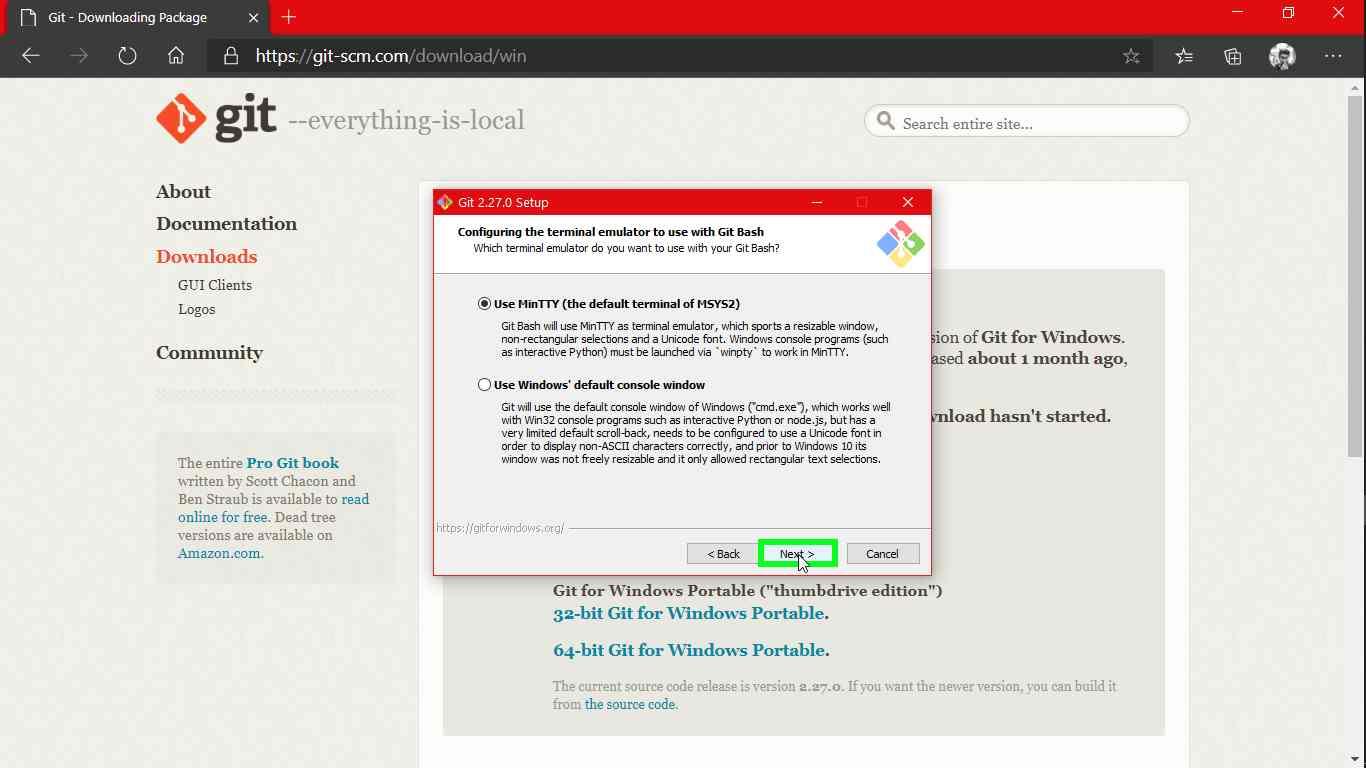
STEP 12:
Use Min TTY
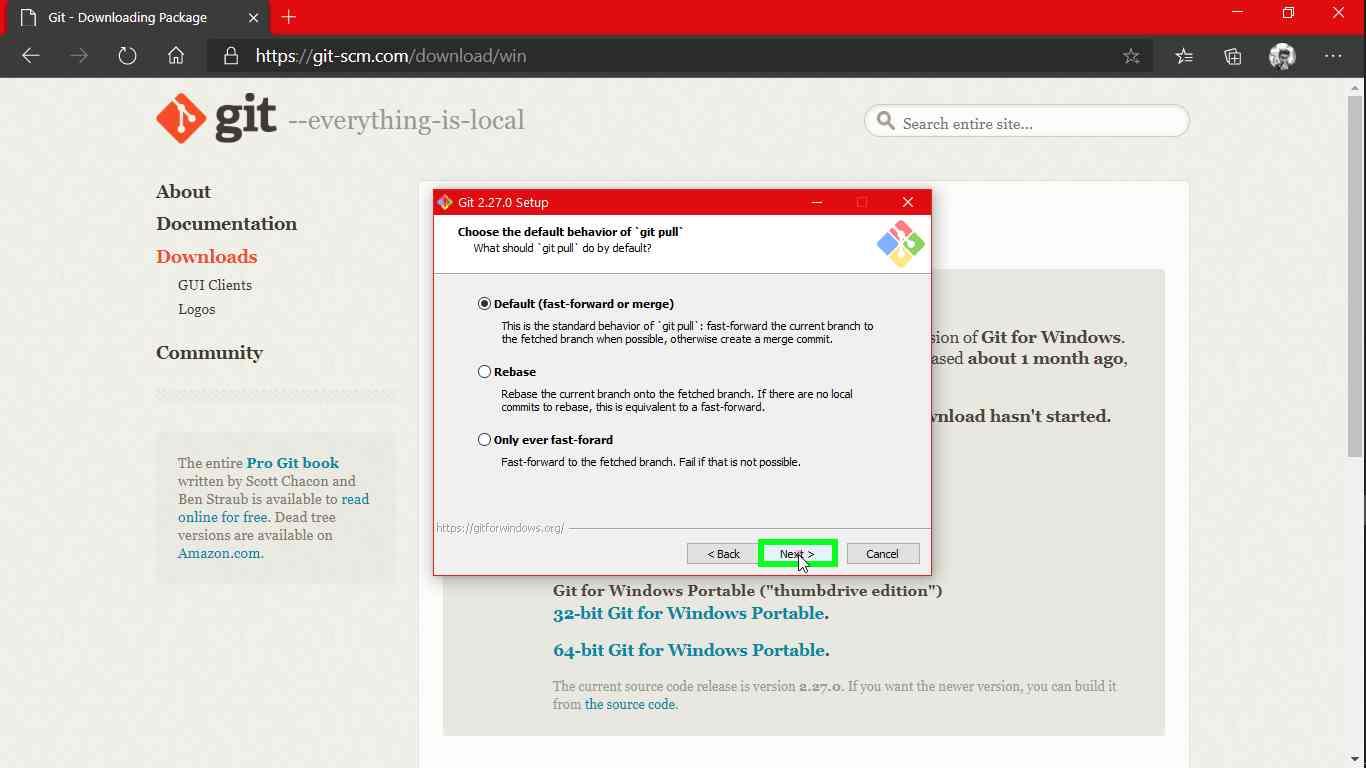
STEP 13:
Select default and next
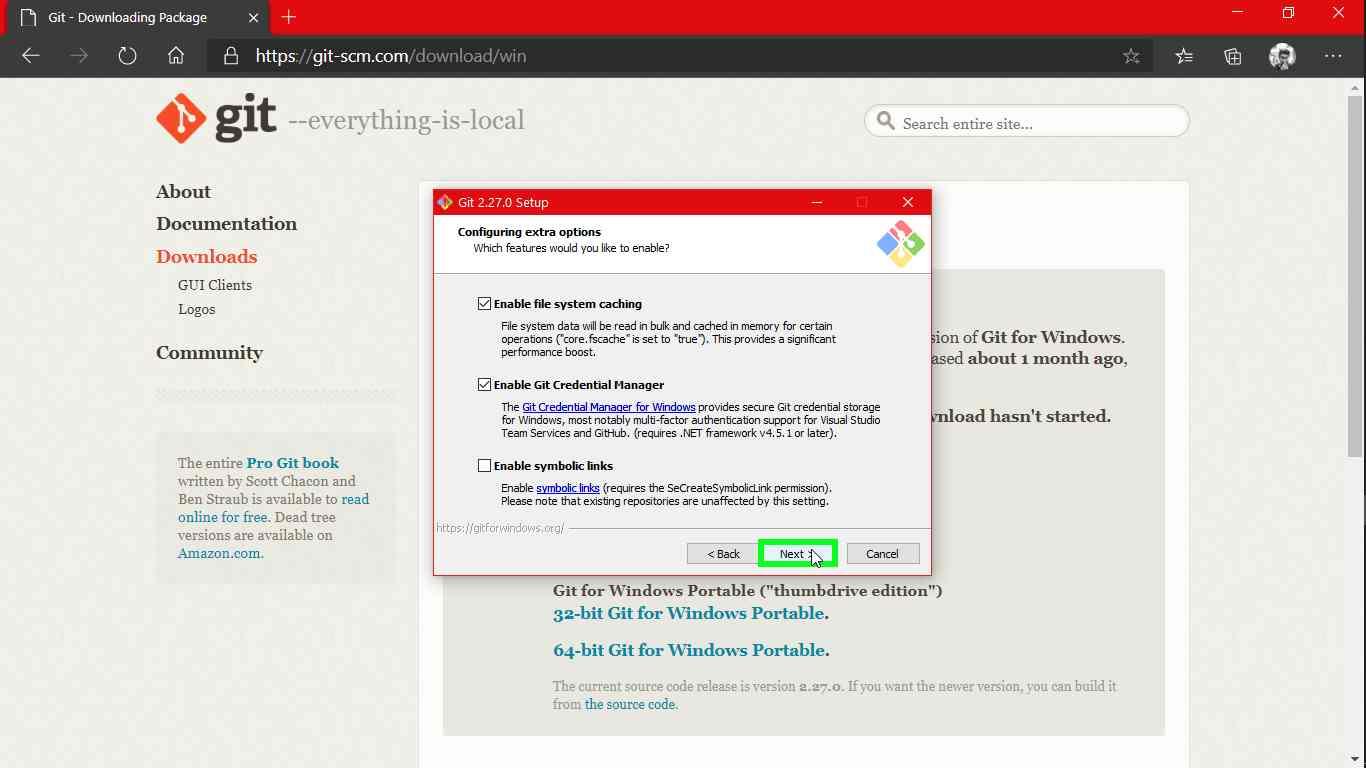
STEP 14:
Uncheck the 3rd option and next
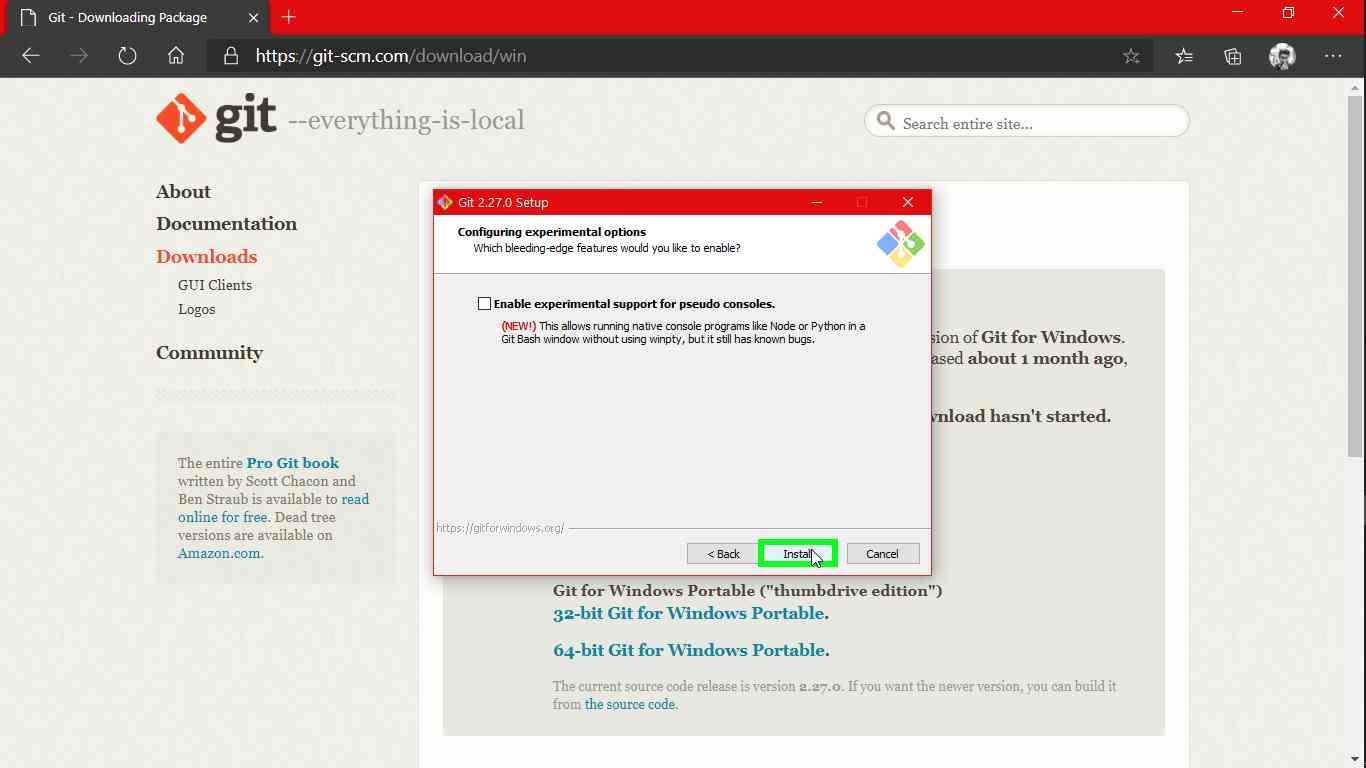
STEP 15:
This is optional you can select or unselect
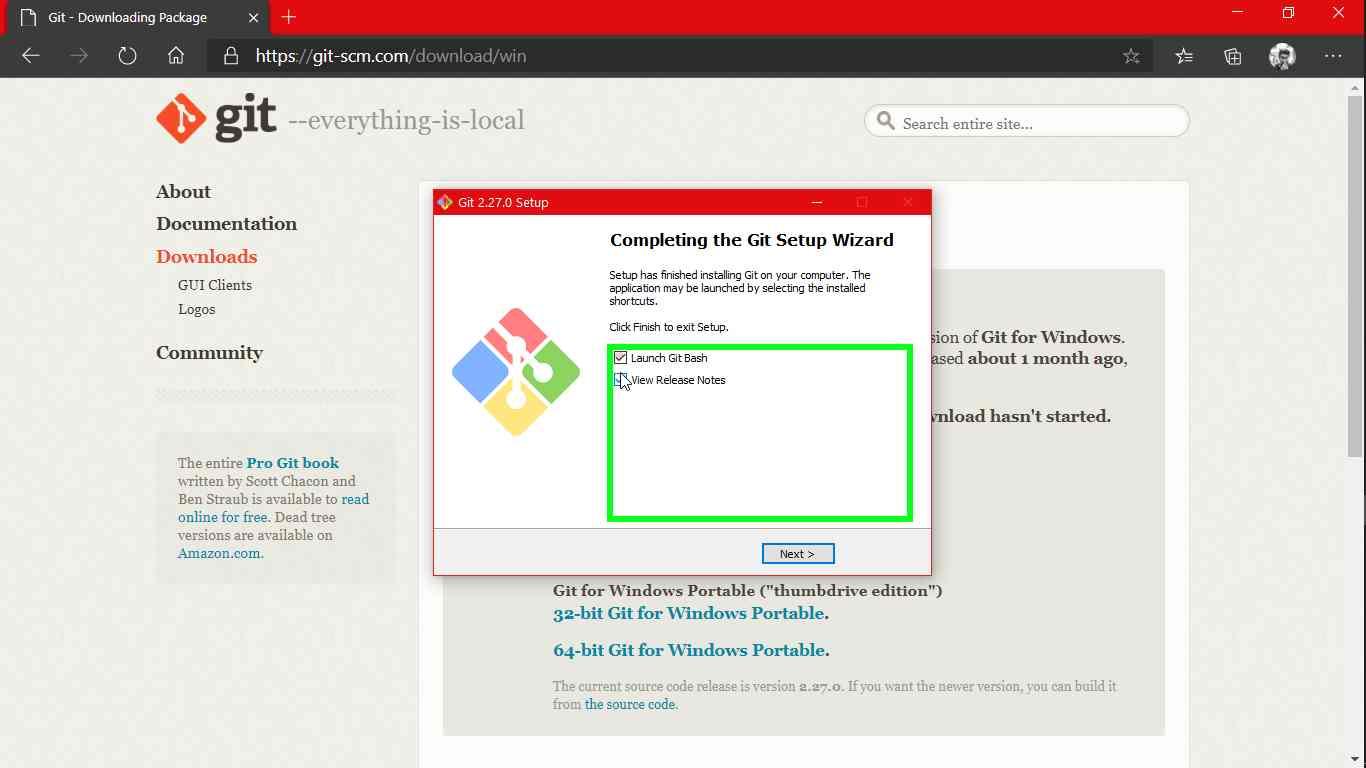
STEP 16:
Launch the git bash
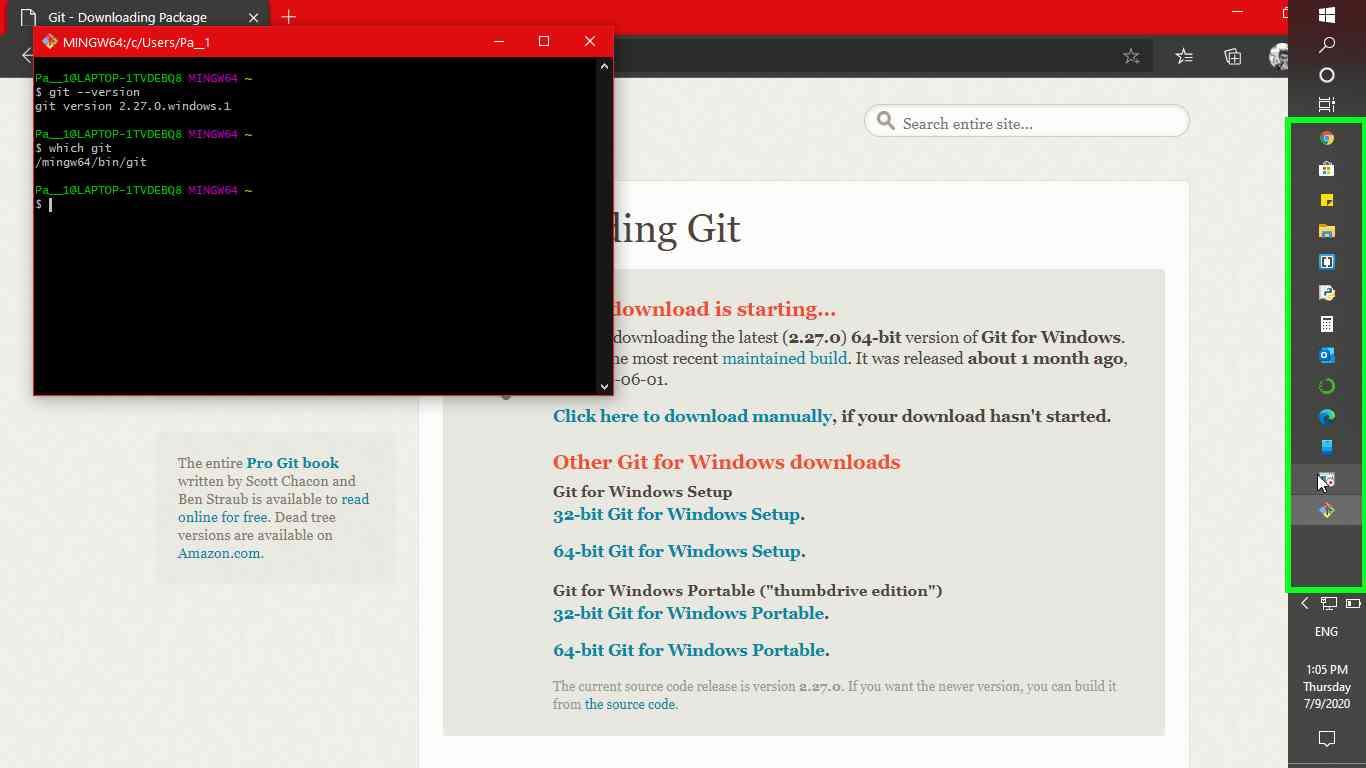
STEP 17:
After successful installation you will get this terminal
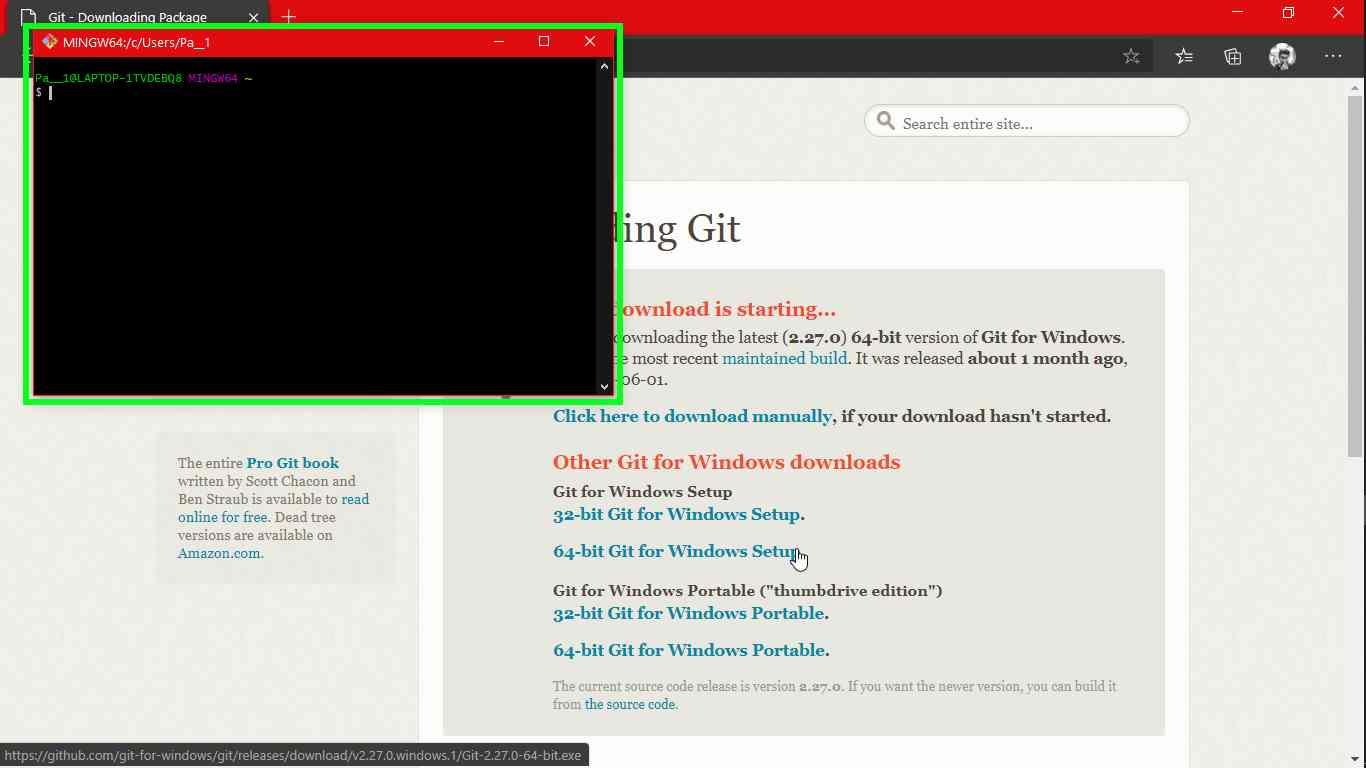
STEP 18:
Just to cross check whether git installed properly or not!
Use below commands
Git –> version (TO know the version of git that was installed)
Git –> which git (Where it was installed).

Login to see solution/discussion